How To: Run A Docker Application (Simple Version) - Example Using Notion2Anki
A simple guide to using Docker, using Notion2Anki as an example!

The problem with running apps on your computer is that if you don’t have the right background software installed (dependencies), then the program won’t work properly. Docker solves this by packaging everything for you - in other words, it takes the source code and dependencies, and chucks them into a neat package. It’s like an all-in-one present that you can unwrap at any time, except instead of a birthday gift, it’s a fully functioning application that is your present! 🎁
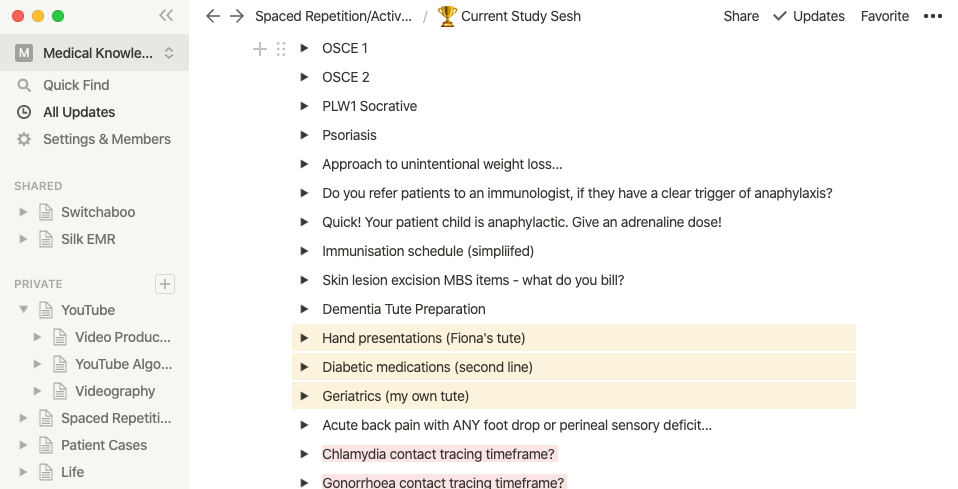
For this particular tutorial I’ll be running through how to get the app Notion2Anki up and running to your computer.
I’ve created a fork of Notion2Anki and my modified version (that should work with the ports listed below) is here on my Github. You can just clone it using Git, or if you don’t know how to do that, then just download the zip from it.
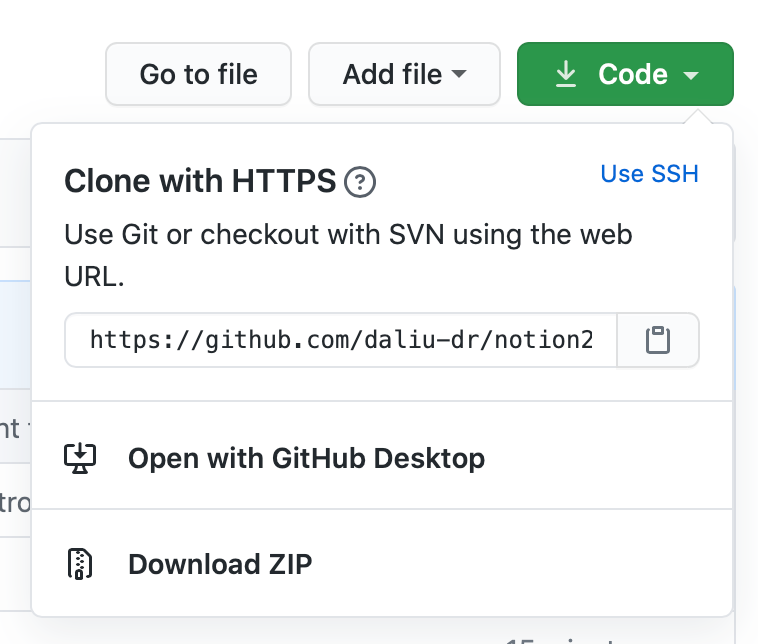
Alternatively, if you want to start from scratch, the original Notion2Anki GitHub is here. Or, if you want to use Notion2Anki and don’t mind the 150MB size limit or having to wait till your file uploads to their servers, you can go to the actual official website.
How to run a Dockerfile and start your software
Presumably you know how to navigate Terminal.
Here are the steps to running source code that has a Dockerfile inside of it.
The full documentation is here, but below is the simple need-to-know explanation of it.
- Make sure Docker is installed on your computer. I use the Docker Desktop application for Mac.
- In Terminal,
cdinto the source code’s folder with the Dockerfile. - Run
docker build --tag notion2anki:1.0 .. Make sure to include the dot! The —tag modifier creates a notion2anki repository in Docker, with the version being 1.0. - Run
docker run --publish 8000:8080 --detach --name nn notion2anki:1.0.
In short this is how you run your application to a server so that you can access it in a web browser locally. If you want to access it in e.g. Safari or Chrome, then just go tohttp//localhost:8000/and you’ll see your application there! Thennis just the arbitrary name we’ve given our container. The8000is the listening port — in other words, to access it you have to make sure that you’re going to http//localhost:8000/ and not http//localhost:8080/ (which won’t work).
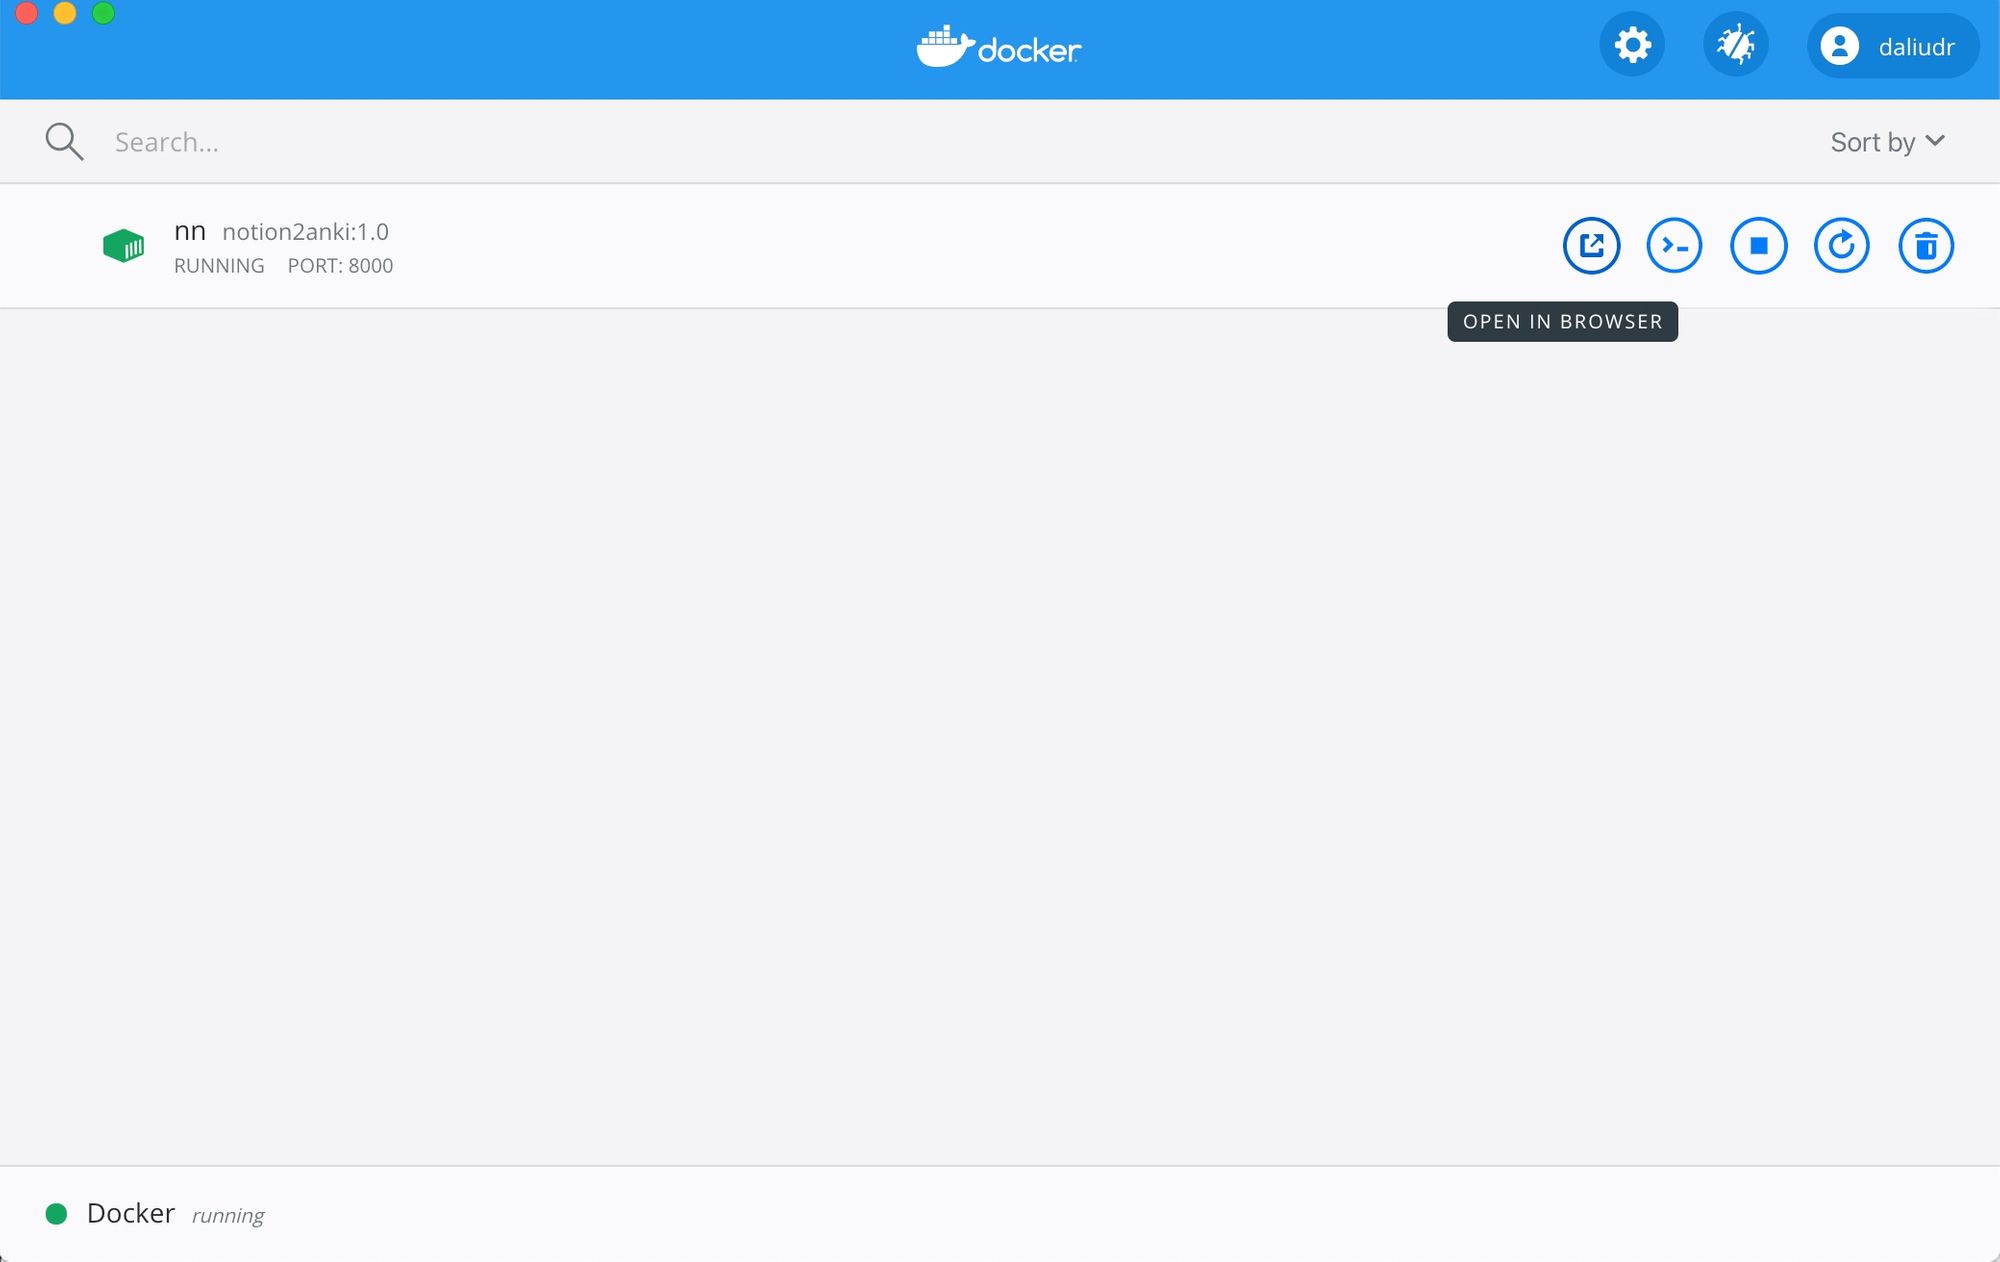
An alternative method is to access your now running container from Docker Desktop by clicking this button:
There’s a few different important components to explain here for the sake of completeness, that I’ll essentially copy and paste from the full documentation:
--publishasks Docker to forward traffic incoming on the host’s port8000to the container’s port8080here. Containers have their own private set of ports, so if you want to reach one from the network, you have to forward traffic to it in this way. Otherwise, firewall rules will prevent all network traffic from reaching your container, as a default security posture.
2.--detachasks Docker to run this container in the background.3.--namespecifies a name with which you can refer to your container in subsequent commands, in this casenn
If all goes well, then you’ll be able to access it!
If you want to remove the container, run this in Terminal:
docker rm --force nn
The --force option stops a running container, so it can be removed. If you stop the container running with docker stop nn first, then you do not need to use --force to remove it.
Advance Notion2Anki nerdy stuff / Troubleshooting for this particular example
- For Notion2Anki, I ran into a trouble where I couldn’t actually upload the files. Turns out that endpoints.imba had a hardcoded value to return localhost:2020/f/upload when you tried to upload a file. Whilst the Docker will technically be happy to start up a server of 8000:8080, you’ll find that you won’t actually be able to upload any files to your local Notion2Anki server. So my modified version rectified it for specific use on port 8000:8080, as described above.