My Current YouTube Video Creation Workflow (Recording Films -> Final Cut Pro) - Work in Progress
How I record videos, edit them, and publish to YouTube. From start to finish! Work in progress.

I’m very new at this whole YouTube thing, and honestly there was quite a lot more involved than I imagined per video. However, it’s certainly not an insurmountable amount! In the end, I made this as my first video going by the moniker Dabido, and I’m pretty happy with it though it’s definitely gonna take some work. I’m going to include every single step of the process.
Prerequisites
I have a MacBook Pro. You don’t need this particular thing, but mine’s hooked up to a Razer eGPU box that has a Radeon Vega Pro 64 inside of it, so that I could just render stuff faster.
Recording the film
I specifically wanted a bokeh effect (blurred background, focused foreground). I’d originally attempted all sorts of ways to do this with my iPhone but in the end wasn’t satisfied, so ended up forking out some cash for a camera.
In the constant battle between being a noob but also wanting to make something of decently good quality, I wanted a camera that was reasonably affordable whilst still giving me beautiful shots. I settled on the Sony A6100, which has a small flip out screen so I can make sure I’m in shot.
I really wanted to make things look nice so also bought a Sigma AF 16mm f/1.4 DC DN (C) - Sony E Mount lens. This was specifically to the style of video I was going to create, which was fairly up close and personal talking style videos. The ‘E Mount’ bit means it connects to my Sony camera. I’ll talk about it separately maybe, but basically f/1.4 is pretty much the widest aperture you can get (= lots of light plus a significant contrast in focus between foreground and backgrounds). Normally 16mm would be a really short focal length, but because the camera has a thing called a “crop factor” of 1.5, it means that the actual focus length is 1.5 x 16mm = 24mm, which is the perfect focal distance for what I wanted.
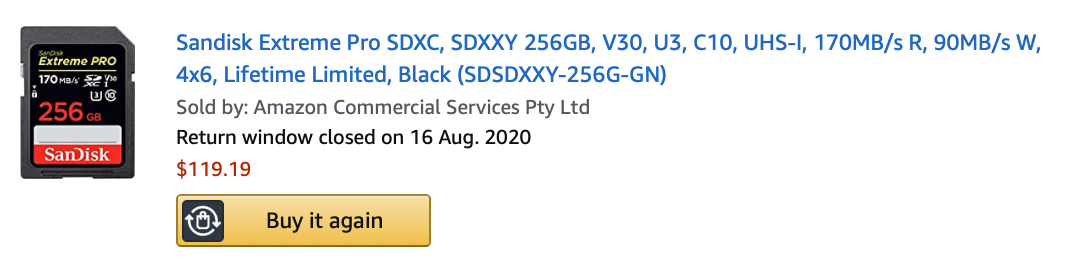
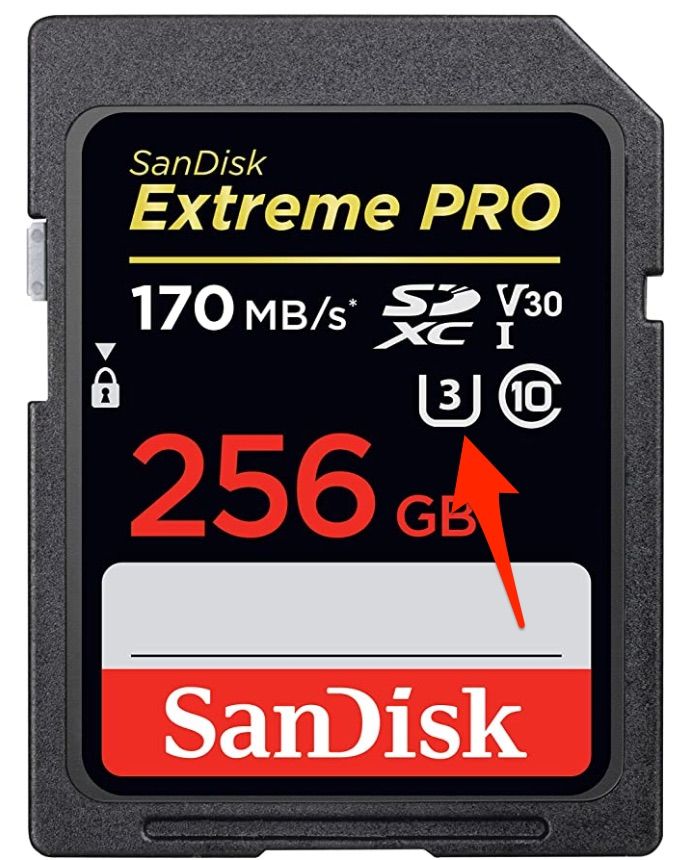
The camera itself needs an SD card, but not just any one, you have to get the correct one here too. From memory, for this particular type of camera it needs to be an SD card with a little 3 in the bucket.
I have a Rode VideoMic Pro Plus. The audio is almost more important than the video, surprisingly. It connects directly to the Sony A6100 via a TRS-TRS cable. If you want to connect it to your Mac or other 3.5mm headphone jacks, you’ll need a TRS-TRRS converter. There’s other YouTube videos on this.
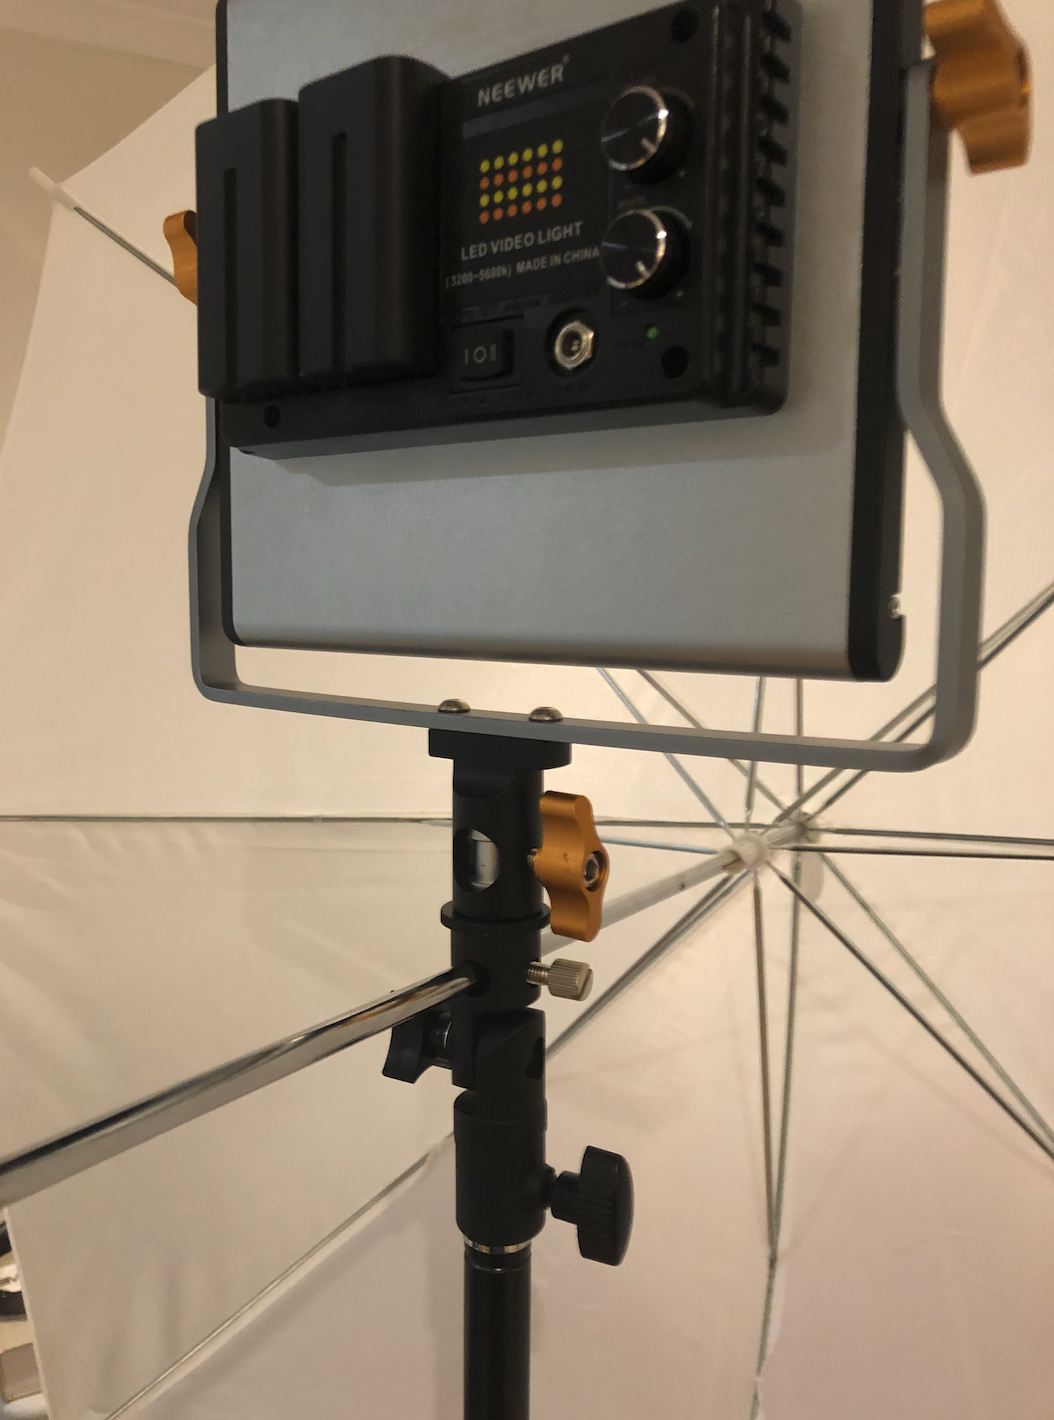
It’s not enough to have your house lights if you’re a bit more serious about production quality (though totally fine if you’re just starting out, and you can honestly use daylight if you want). In essence, you want to get a really bright light that is somehow diffuse, meaning that the light is spread apart somehow so that it hits your face more softly; otherwise, you’ll get these sharp shadows which look ugly. Lights are really expensive for the Aperture ones, so I went cheaper with this set:
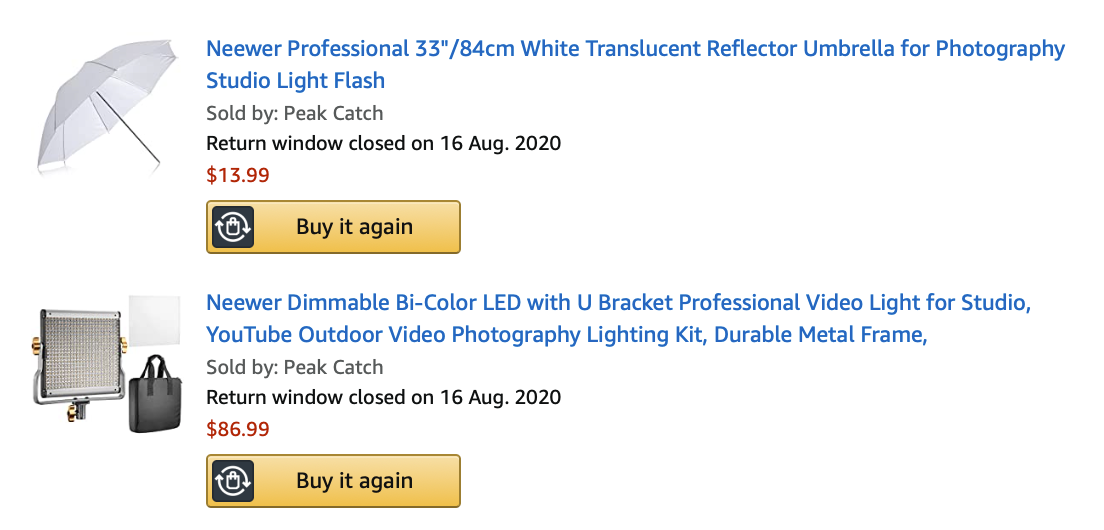
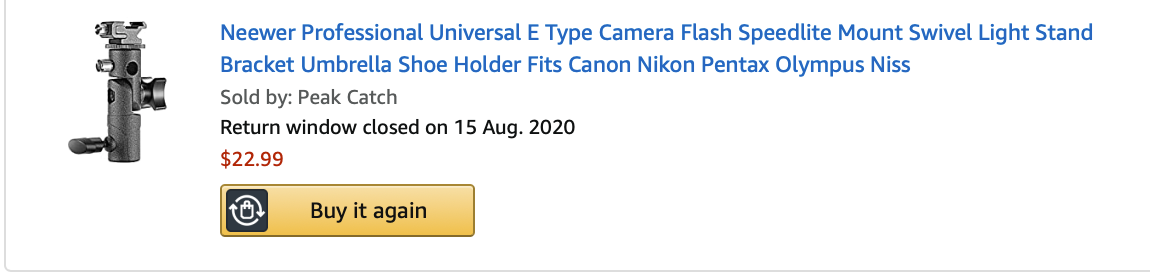
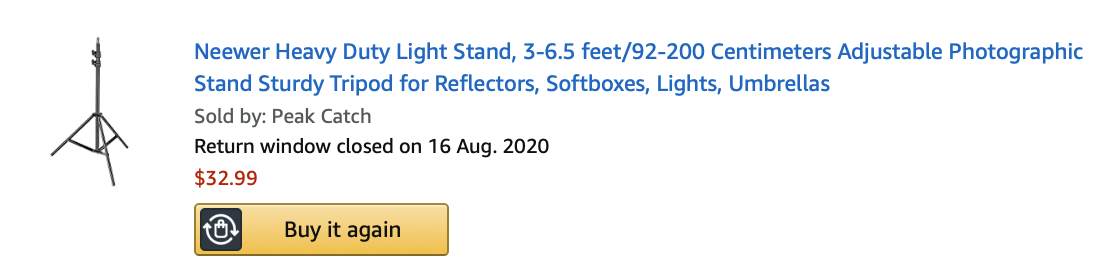
Assembling it together takes a little work since there’s no actual instruction manual. But in essence, the umbrella adapter sits atop the stand. And the light sits atop the umbrella adapter.
So now we’ve got:
- Camera
- Lights
- Microphone
An optional thing for the camera, which I also recommend, is a tripod. I got mine from a local camera store so don’t have a link. Your camera actually has a small screw hole at the bottom of it. You can screw and unscrew your camera to the correct tripod.
Lighting properly
The best course on lighting is on Skillshare, by a filmographer called Dan Dan Liu. If you were summarise it in one sentence: your big light is called a key light, and the aim is to put it to one side of you so that it creates contrast between the two sides of your face. If it doesn’t look right, rather than worry about brightness, change the position of the light till it works.
Camera settings
I set my camera to use a ‘Vivid’ exposure. I can’t remember exactly, but you press one of the buttons around the round OK circle on the back of the camera or something, and it comes up in a list of other options in a rectangular grid of options. I also changed the Zoom area to focus on wherever I want focused. Sorry, this totally a terrible explanation, I’ll elaborate later when I have more time.
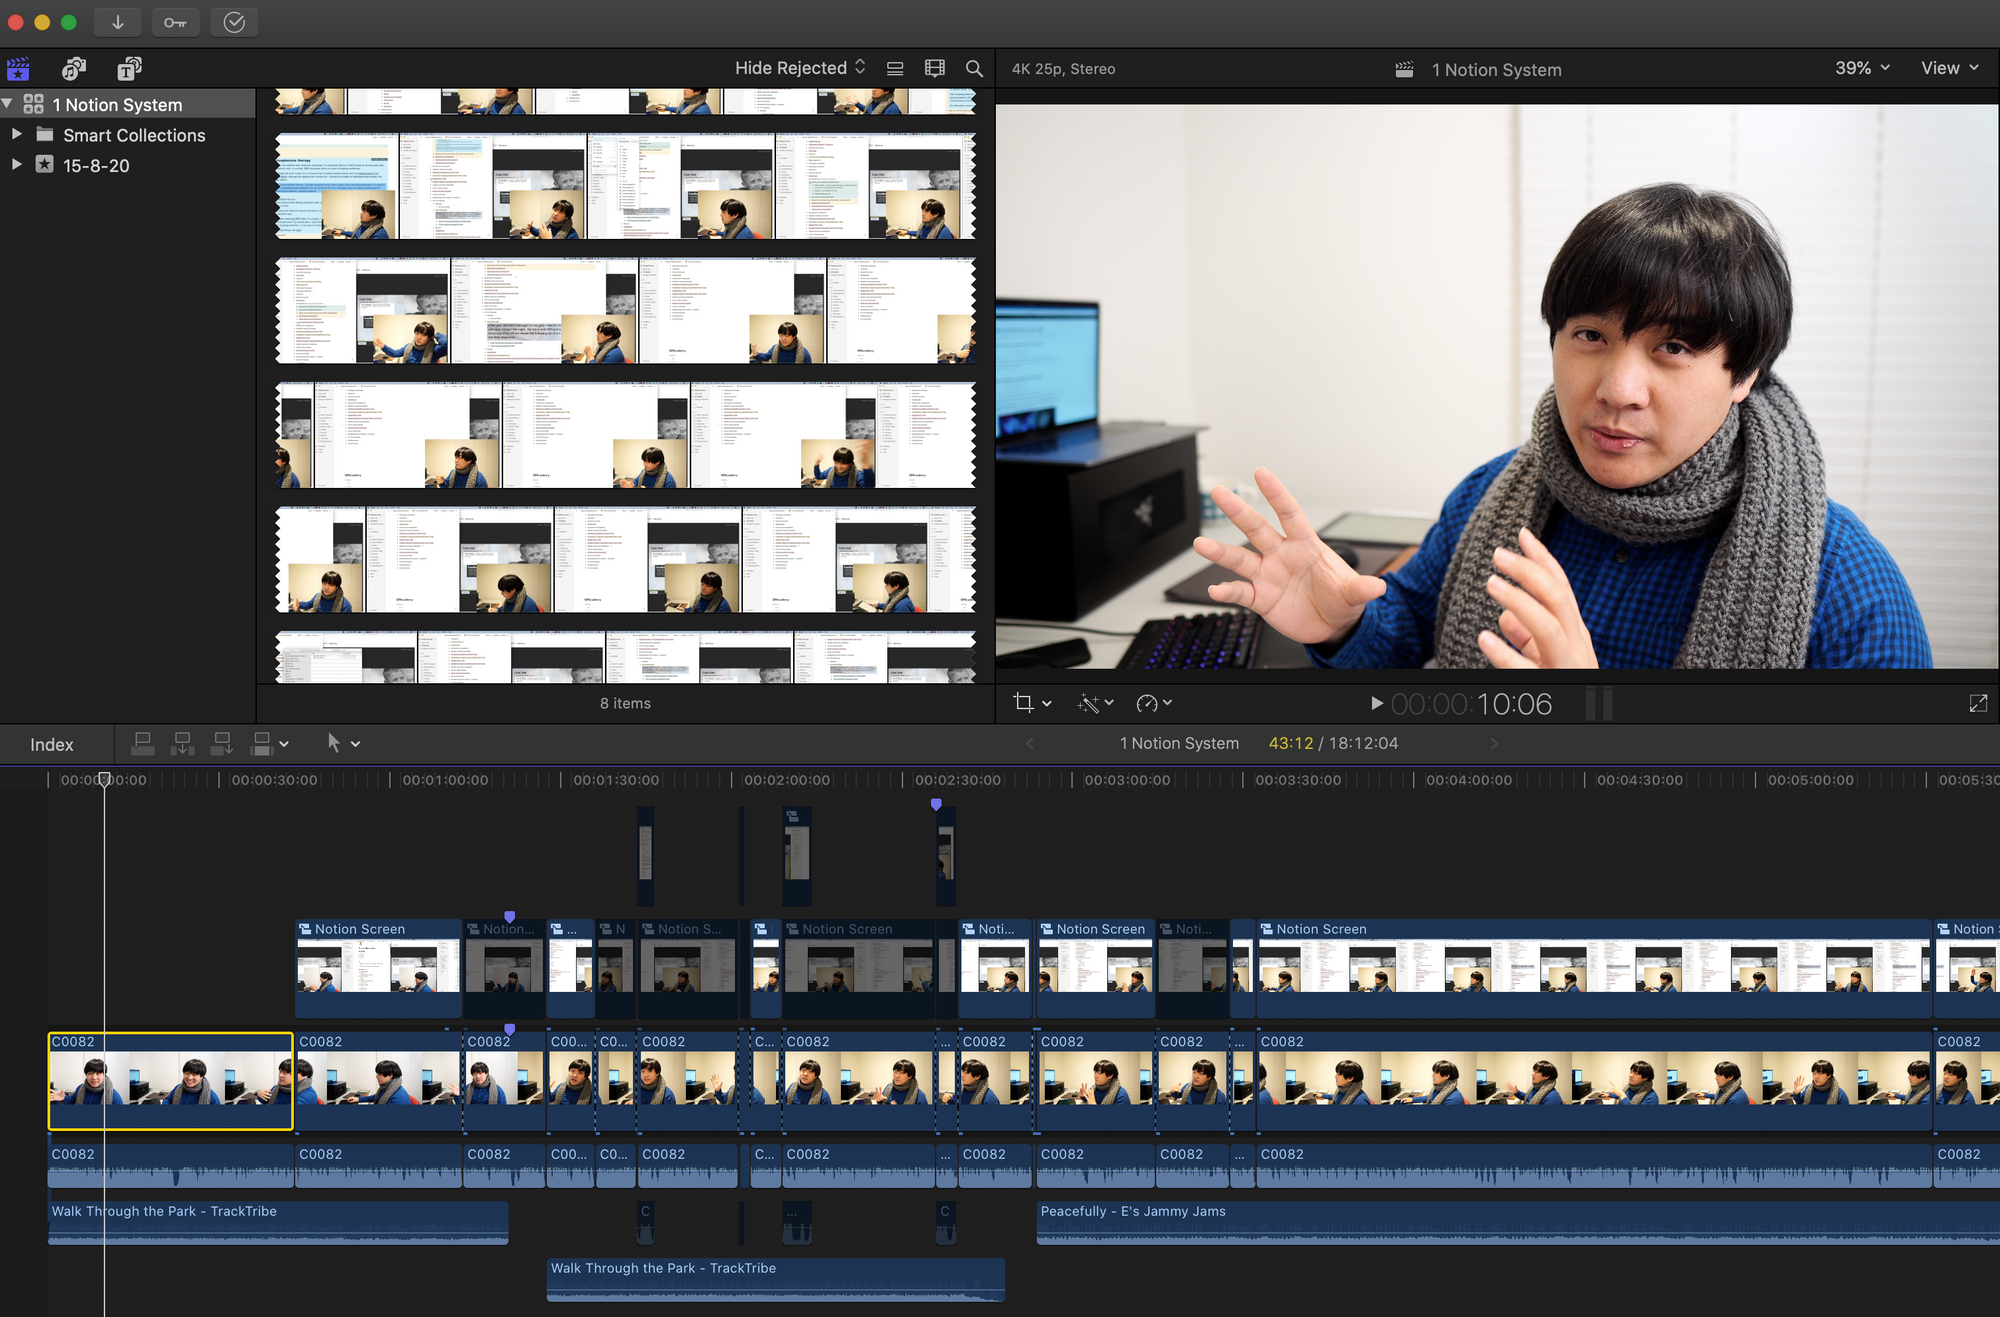
Final Cut Pro workflow
If you’re new to Final Cut Pro, I think Ali Abdaal’s course on Skillshare about Final Cut Pro is the best to learn.
I’ll fill this out more later, but essentially:
- Your “A Roll” is the main meat of your film. In my case, a talking head, i.e. myself (lol). I put this into Final Cut Pro
- I use Screenflow to record my laptop screen. You can use a Compound Clip in order to create a picture in picture, by applying transforms to the second picture.
- For recording iPad screens, iPads and iPhones have a built-in function (it’s not an app). You basically change it in the same place as you would change the brightness. You may have to enable it somehow if it’s not on that same menu.
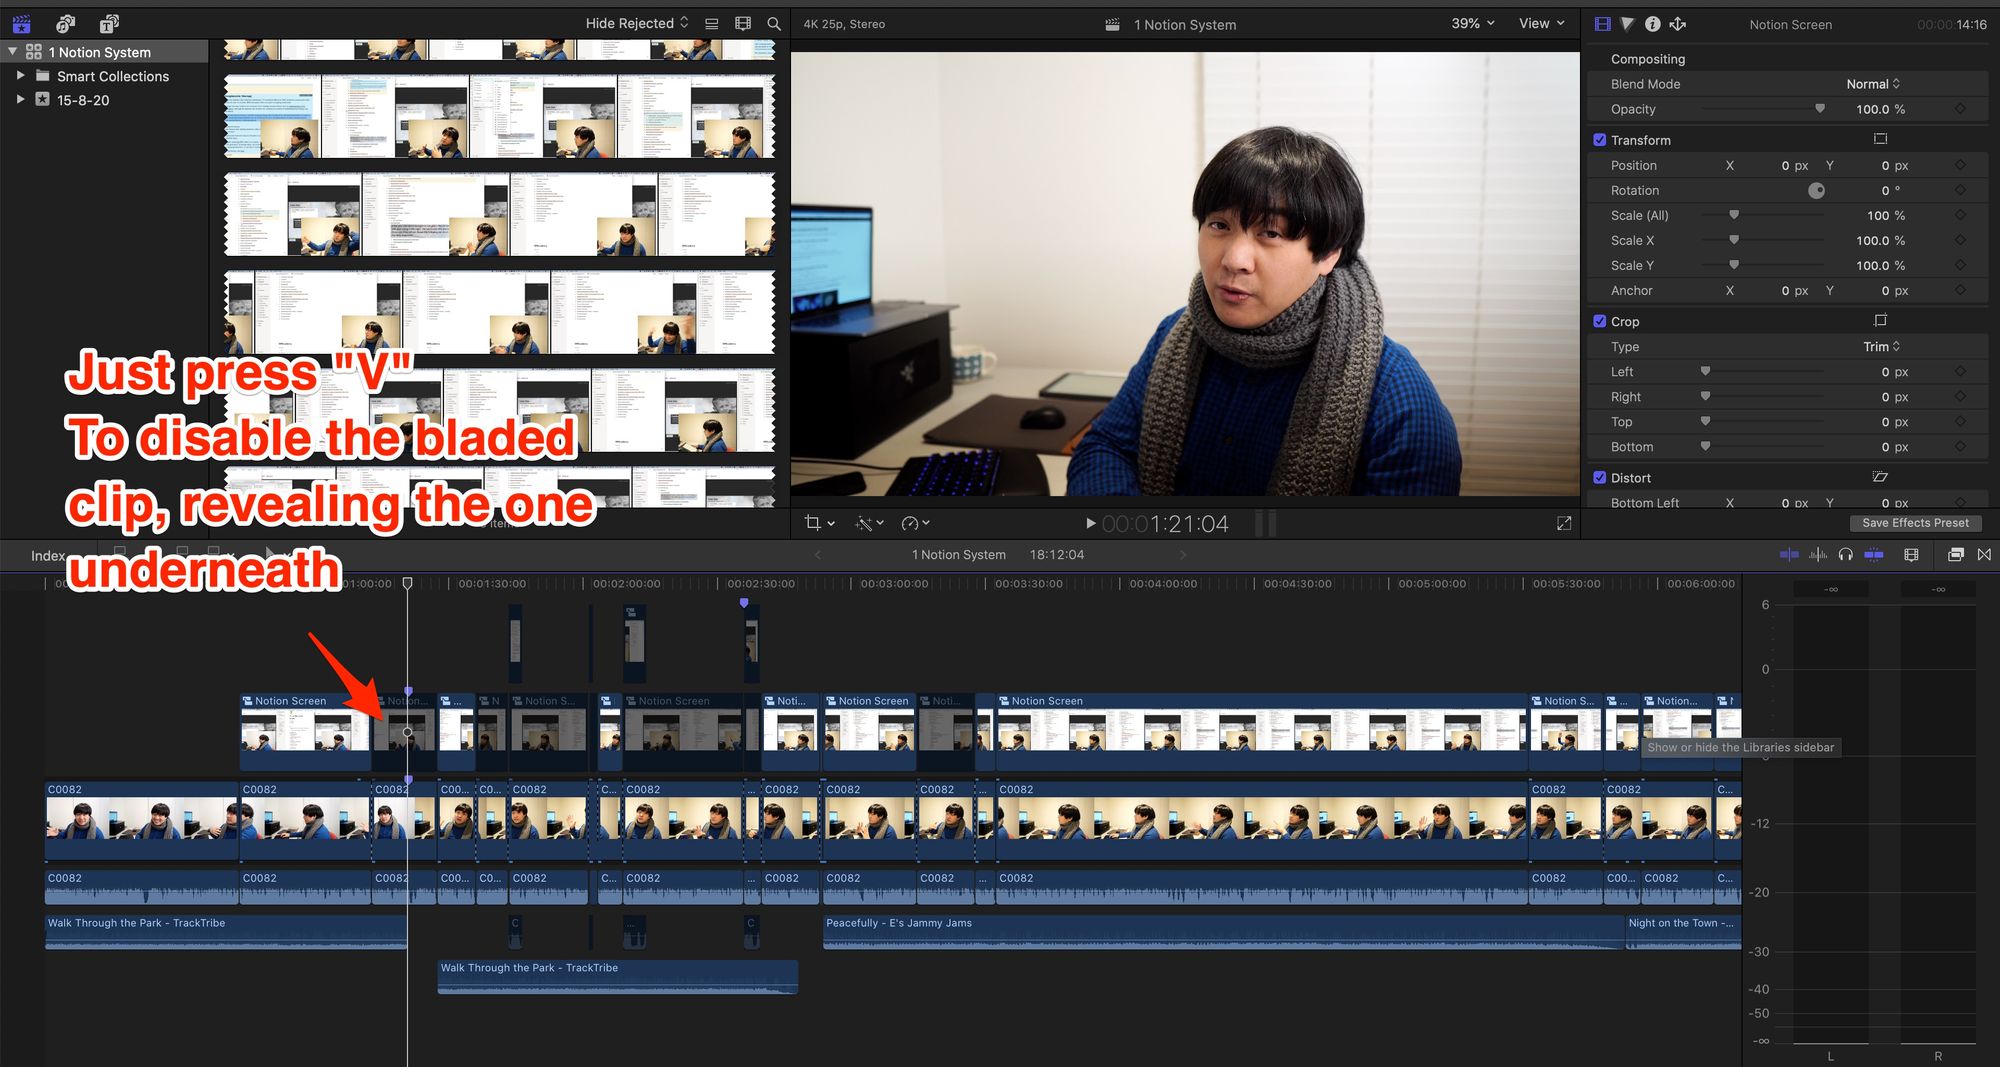
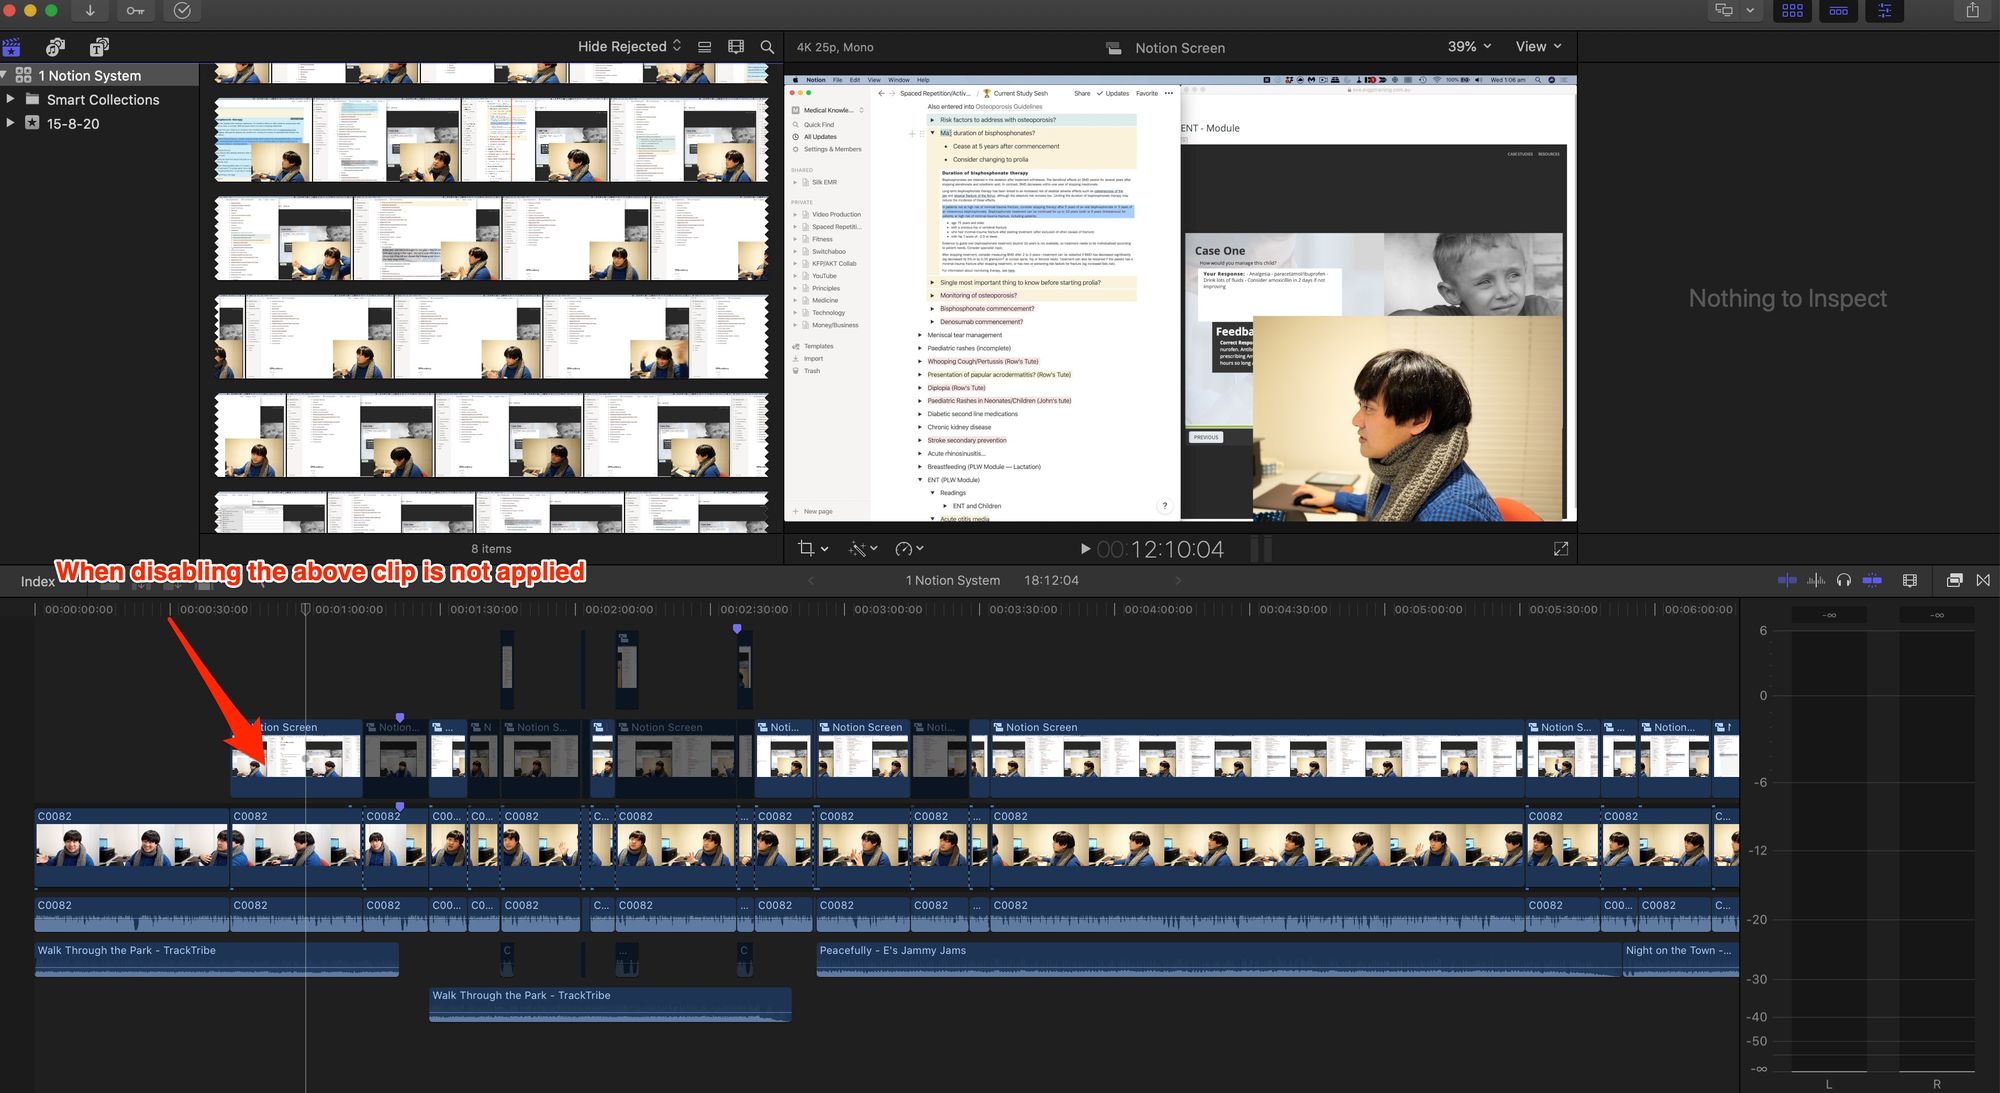
- The fastest way I found to switch between A roll and B roll (i.e. myself, vs myself + laptop screen share) is to have two separate clips going on at once, then selecting all (Cmd+A) and blading the clip (Cmd+B) and then disabling the one that you don’t want (V). I don’t know if this is the most efficient way to use this flow, because I “invented” this method myself for this specific need. But this is how you switch quickly between two clips on Final Cut Pro.
- To make sure audio is not distorted or too loud, you should apply a limiter. You should aim for audio between -4.5dB and -6dB.
- Export using File >> Share >> Export File >> Settings >> and change Format to Computer, as well as changing Resolution (to 3840 x 2160 if you want 4K video). This exports it as an mp4 file, which can be uploaded to YouTube.
Final words
This is actually a living document, I’ll update it as I feel like it and ironically it’s lacking a lot of detail, but that’s the rough skeleton of my entire workflow from start to finish. Maybe this’ll help you, but honestly it took a lot of figuring out to get to this point!