Using Terminal In 10 Minutes
A primer to using the command line, which is extremely important for any coding endeavours you might undertake.

When graphical user interfaces (GUI) were developed, they made it incredibly simple and easy to make and find files. It was extremely intuitive to double click on a folder to reveal its contents.

However, often people may not realise that using Terminal (Mac OSX) or cmd (Windows) allows you to do the same thing: navigate to your files. However, instead of pretty folders, it is done purely as text.
But why would I want to do this?
The main reason that you’ll want to know how to do this is because you can start to use software from the command line. There’s plenty of software out there that does not have a GUI. There’s no way to access this software unless either the developer makes a GUI for the software (e.g. an app), or you access it using Terminal/cmd.
Okay! Tell me how to do navigate in Terminal.
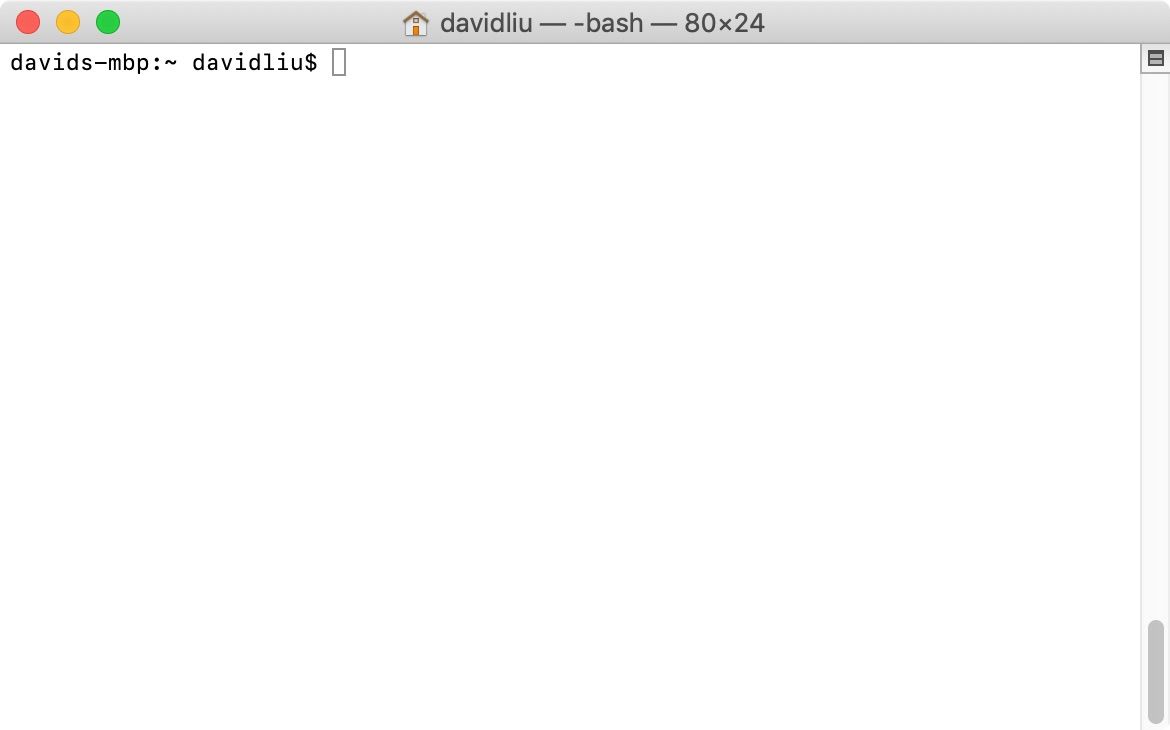
We’ll just use Terminal for now. Open Terminal. You’ll be greeted by a white screen.

The bash at the top refers to a programming language called bash that you’ll typically use to do things whilst you’re in Mac. In my cases, davids-mbp refers to the name of my computer, whilst davidliu$ refers to the name of the folder I’m in.
Let’s say I want to navigate to my desktop. Type in cd Desktop and, lo and behold, you’ve navigated there!
How do I make files and directories in Terminal?
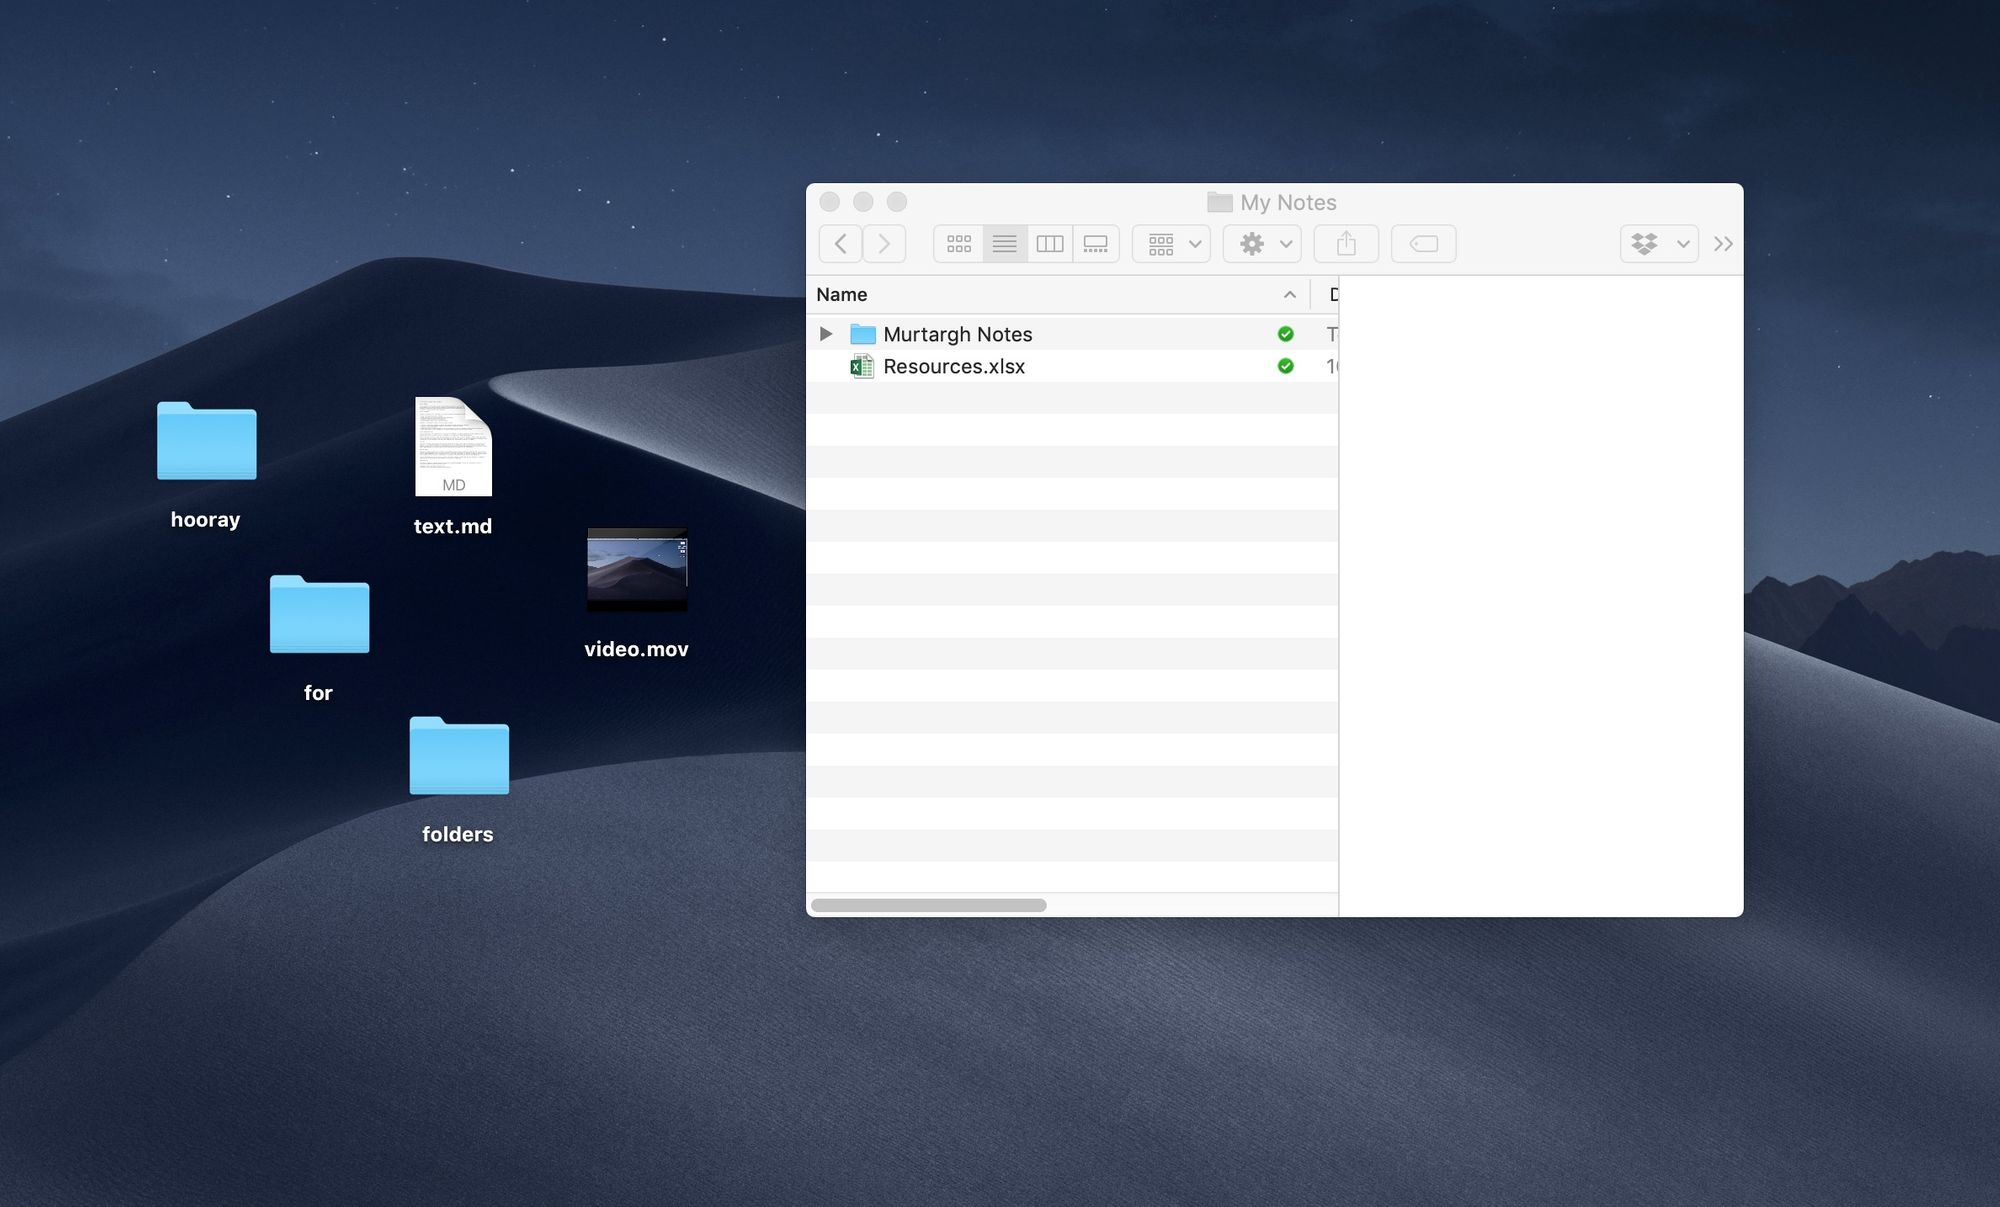
To make a directory, simply use mkdir myDirectory where myDirectory is the name of the directory you want to make. To illustrate this, let me show you what happens by showing you Terminal and the desktop side by side.
You can navigate into the new folder you’ve created by typing cd myDirectory, if you wanted to. We won’t. But you can.
Let’s say we want to quickly make a text file. Type echo "Here is some text" >> newFile.txt into Terminal.
When you go to look at what’s inside newFile.txt, it’s the text you typed!
How to navigate like a pro
So now that you’ve made files and folders and can even navigate between them, let me tell you a few more tips and tricks that’ll save you heaps of time.
1. Drag and drop into a directory
The first trick is: you can drag and drop a folder into your Terminal in order to get its path, making navigation ridiculously easy.
2. Understand how relative and absolute paths work
Understanding the difference between relative and absolute paths is critical for when you learn how to program, since often you’ll want to use files inside folders and will have to know how to navigate to them programatically.
I’m going to use the analogy of a world map. Let’s say you want to find where Tokyo is.
An absolute path contains the absolute location of your file. With the world map analogy, it’s like you got a picture of the entire map - including Antarctica, Mexico, Australia, and finally Japan - and you’re using a description of the entire map to pinpoint where Tokyo is.
Let’s walk through my computer to find the file I want, then I’ll show you its absolute path in Terminal.
So in my case, the absolute path turned out to be:
/Users/davidliu/Desktop/myDirectory/hello\ there/a\ folder\ to\ put\ stuff\ in/hello.txt
Pretty long and unwieldy, huh?
With Mac OSX, you can abbreviate the equivalent of /Users/davidliu to ~, so that you can do things like cd ~/Desktop to cd into the Desktop of the current user. But even then, this would still be ridiculously long. It’s also really not helpful if you make a program that gets loaded onto someone else’s computer, because they will almost certainly not have the same name as you!
In contrast, a relative path contains a relative location of your file. To use the world map analogy again: you might already be in Japan, so you just need to know a few details more in order to find your way to Tokyo.
Let’s use drag and drop to get to myDirectory, but then navigate firstly downwards…
stuff
Then back upwards. If we want to go up to our parent folder, we can use shortcuts.
. refers to the current folder you’re in.
.. refers to the parent folder of that folder.
When we’re using Terminal, you’ll notice that we can either use ./hello or just hello in order to go into the hello folder, when you’re inside myDirectory. The second one is a nice shorthand, but realise that whenever you refer to a directory when you code in any language (like Python), you’ll want to use ./ instead.
Conclusion
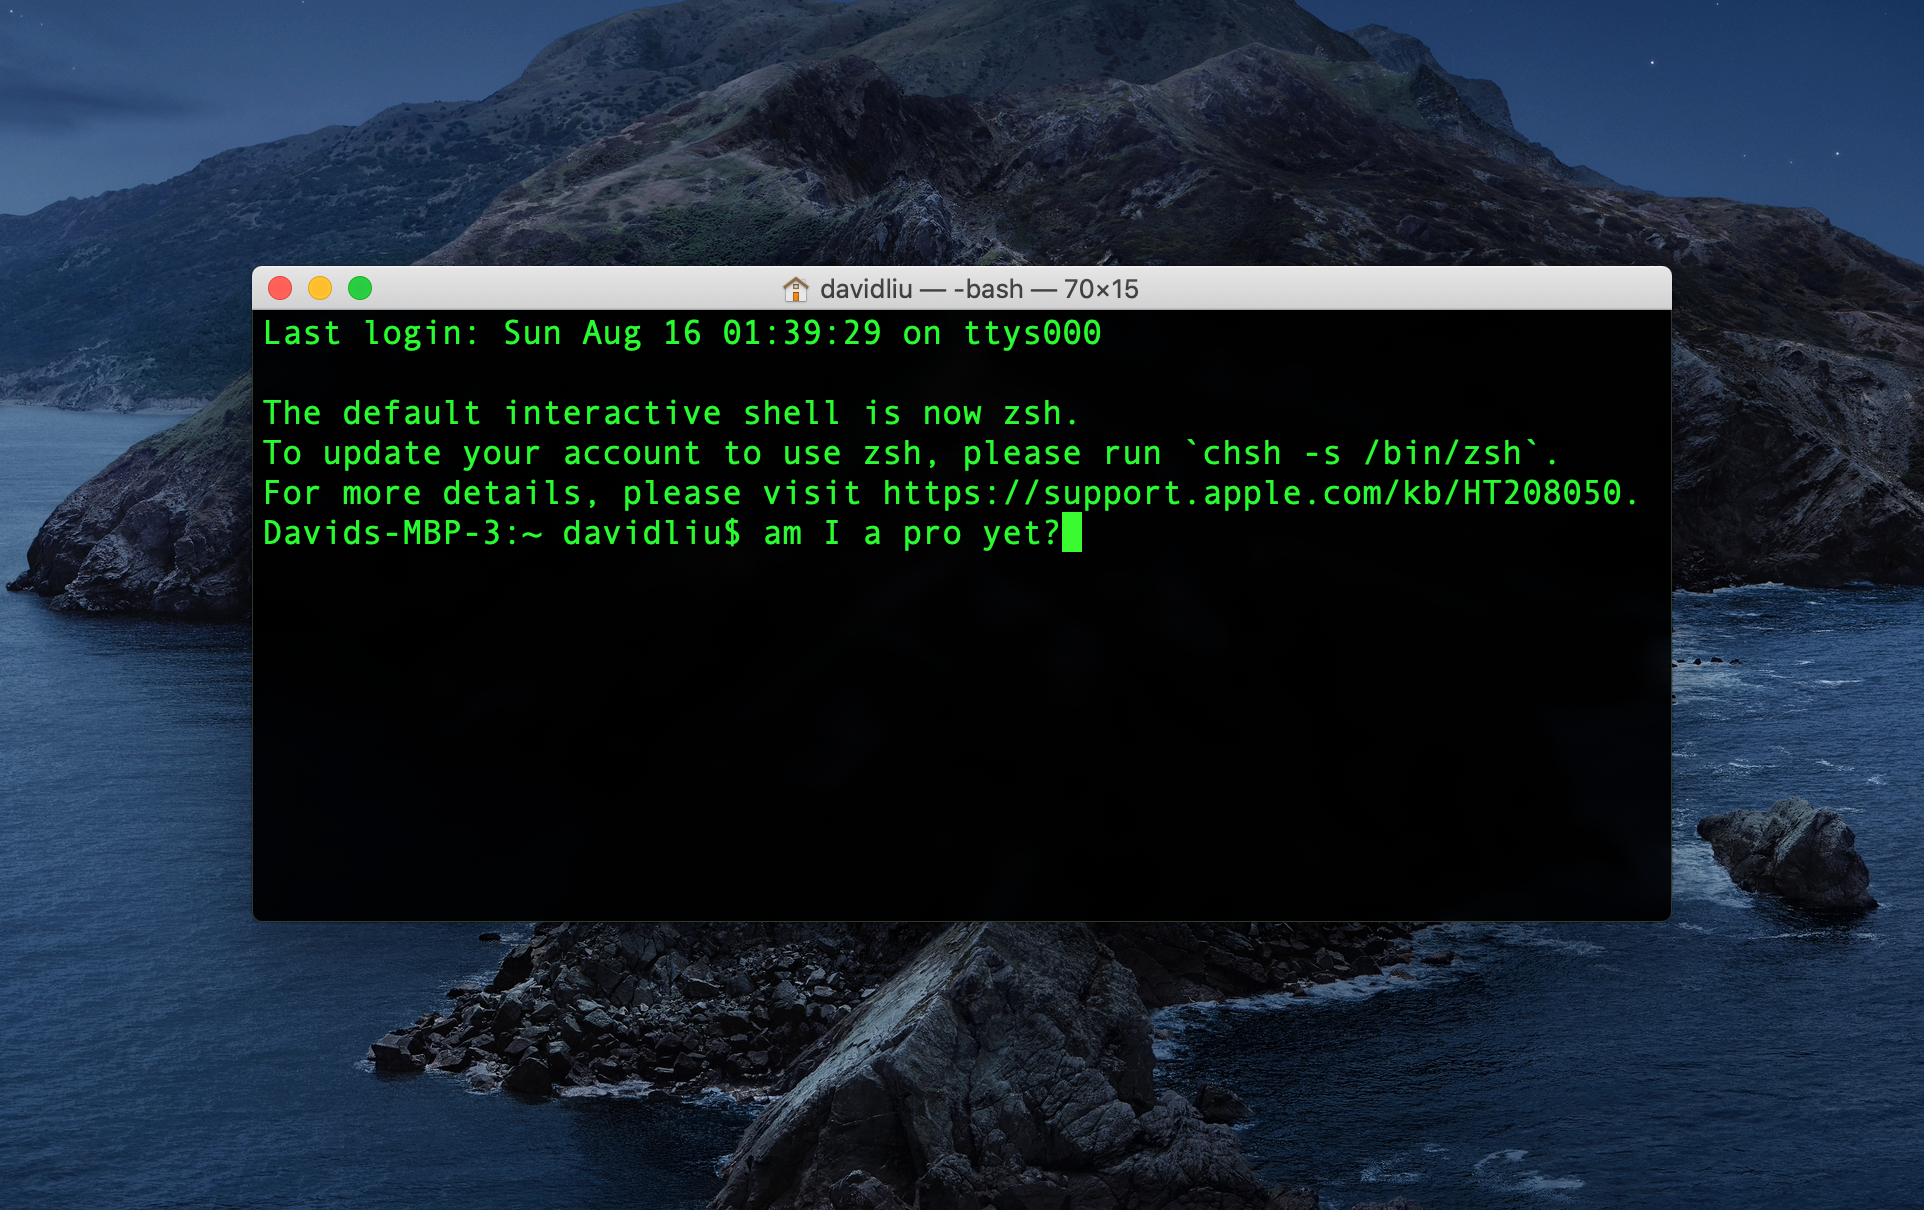
So now you know how to use the command line! Hooray. If you want, you can change the colour of your Terminal by going to its preferences, so that when your friends watch you from over your shoulder you can look like a real hacker…even if you’re actually just navigating through directories and making folders. However, it's a really important step to learn, as now you'll be able to get to the actual fun stuff of coding genuinely useful things!
There's so many times where instead of bothering to create a GUI, I just created a script in Python and ran it in command line. You can use it for all sorts of stuff. In my particular case I used it to run some automation software to run common business tasks for my eCommerce website, using Selenium. I'll maybe talk about it another time, but there's a great course called 'Automate The Boring Stuff With Python' that you should totally check out if you're into that sort of thing.
